


What is it?
Lumigo’s Auto-Tracing allows you to implement distributed tracing on your Lambda functions with 3-clicks and no manual code changes.
What problem does it solve?
If you’ve already decided to move to a serverless infrastructure, you probably understand the importance of monitoring your AWS Lambdas and what it might entail. For the few out there that are still wondering what monitoring AWS Lambda means, I’ll break it down for you in a couple of steps.
1. You’ll need to somehow get observability into your stack and this can be done with AWS Cloudwatch, which works, but it’s not the best option because the collected information is displayed in a cumbersome way, filtering is a nightmare, and debugging errors is like playing a puzzle game. On an old computer. With the screen turned off.
The better option is Lumigo. It won’t only allow you to identify bugs within your code but also optimize performance, breakdown costs, help with capacity planning, and much more.
2. So the next step is to integrate your functions into this monitor and implement tracers that will expose all the relevant information on your functions into your monitoring application.
The problem is that traditional instrumentation is a tedious, time-consuming, and error-prone process. Let’s see why.
Traditional Instrumentation
The traditional way of getting all the details from your AWS Lambdas is to add a little wrapper around your function that would call your monitoring software every time it executes. With Lumigo, this can be done by installing the Lumigo Tracer with npm and then adding a few lines of code in your function.
const lumigo = require('@lumigo/tracer')({ token: 't_1b8e3e1eada1064d41ff' })

// before wrapping
module.exports. = (event, context, callback) => {
...
};

JavaScript
// after wrapping
module.exports. = lumigo.trace((event, context, callback) => {
...
});
This is the most common way of tracing Lambdas. But for large-scale serverless applications doing this for each function is a difficult, time-consuming task.
The fact that manually altering every single function that you want to monitor is such a daunting task leads to a couple of additional problems. First, it might make you only instrument a small number of functions, leaving you blind to a subsection of your application. But this isn’t even the biggest downside.
Because every monitoring service uses its own proprietary tracers, if you decide to switch services two, four, or six months down the line, you’ll have to go and remove that code from each function and re-instrument with the new code. Double the work!
Lumigo offers a better, easier way to trace AWS Lambdas.
Auto-Tracing
Our auto-tracing feature will automatically add the Lumigo tracer to all your functions, instrumenting your entire code base, without changing a single line of code.
(Although it is completely transparent to you, in case you’re curious, this is done with our Lumigo Lambda layer.)
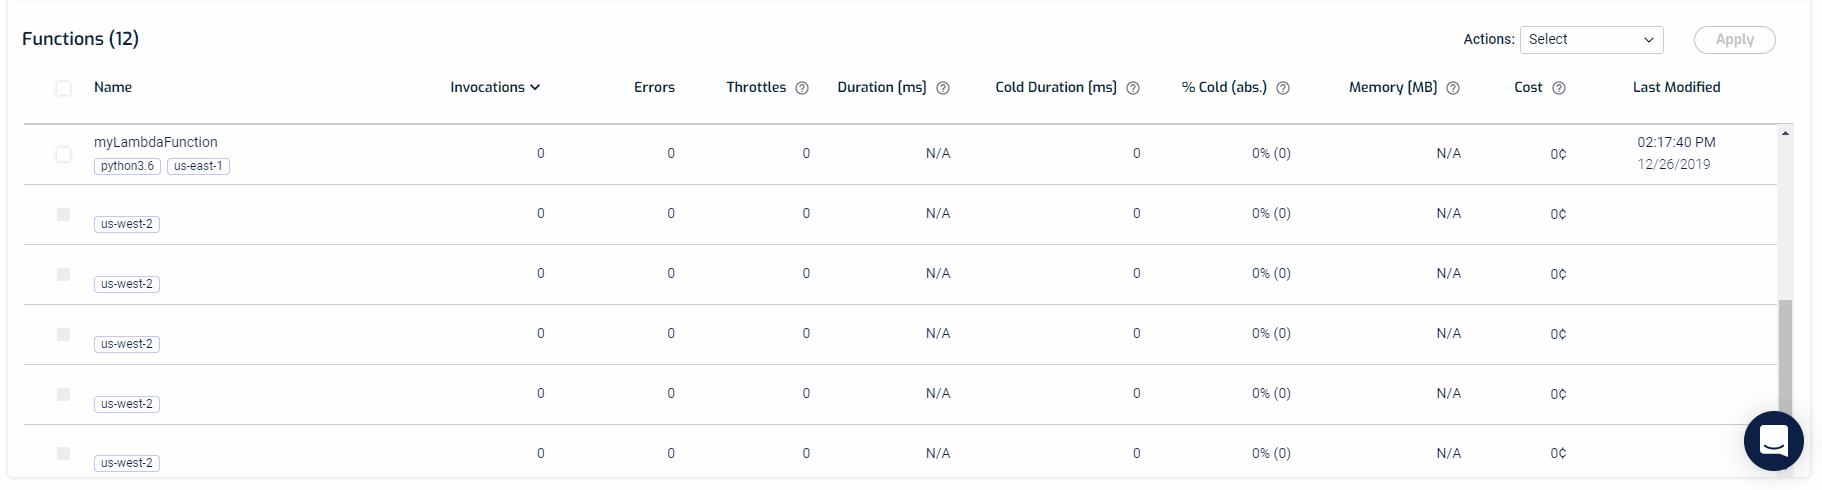
Setting up auto-tracing is quite easy. From your Functions screen, you can select as many functions you want to trace and from the actions filter, select Auto-Trace, and hit apply. That’s it. You’re all set.
There are several advanced configurations you might want to check out. See our docs for the different settings you can play with.
The Benefits of Distributed Tracing
Traditionally, tracing is a very common practice of analyzing your code in order to identify the issue causing an error or crash. Old-timey monolith applications were, compared to a modern microservice-based applications, quite easy to debug. A developer would basically have to open the log and figure out the issue from there.
Nowadays, in the age of microservices and serverless, the scenario where you can open up a log and debug the issue seems like a fairy tale. A more likely scenario is that you wake up at 2:34 am with an alert that DynamoDB crashed. And that’s pretty much all the data you get.
This is where the need for distributed tracing arose, from the developer’s need to tell the complete story when an unexpected event occurred. The way it works is that transaction data is followed as it propagates from service to service from the user-facing components all the way to the nitty-gritty, highly complex mechanics of the distributed system underneath.

With Lumigo you can easily set up your distributed tracing agents in a matter of seconds with the auto-instrumentation wizard. This will allow you to find the root cause of the issue by creating a virtual stack trace that will show everything from the correlating logs to environment variables, essentially adding end-to-end visibility into your stack.
What Next?
If you have a Lumigo account and haven’t done this yet, go to the Functions page and try it for yourself. If you don’t have a Lumigo account, sign up now for free and be up and running in minutes.