- Guide Content
AWS CDK for Lambda Functions: A Practical Guide
What Is the AWS CDK?
The Cloud Development Kit (CDK) is a software development framework provided by AWS that allows you to define cloud infrastructure as code and provision it using AWS CloudFormation. It is open source, allowing developers to design, compose, and share their own custom resources that integrate with AWS services, using a familiar programming language such as Python, TypeScript, C#, Java, or JavaScript.
To get started with the AWS CDK, click here.
Why Use the AWS CDK for Lambda Functions?
Using the AWS CDK for Lambda offers several advantages over traditional methods of deploying and managing AWS Lambda functions. These benefits include:
- Familiarity: AWS CDK lets developers define Lambda functions and associated resources using their chosen, familiar programming language.
- Abstraction: AWS CDK provides high-level abstractions for defining Lambda functions and related resources. This simplifies the process of creating and configuring Lambda functions, reducing the amount of boilerplate code required.
- Reusability and modularity: Developers can create reusable constructs and components to define Lambda functions and other AWS resources, reducing duplication and making it easier to maintain and update infrastructure. AWS CDK also supports modular development, allowing developers to split their infrastructure code into smaller, more manageable units.
- Better validation and error handling: Using a programming language for infrastructure definition enables compile-time checks and validation, helping to identify and fix errors before deployment. This can lead to a more robust and stable infrastructure.
- Version control and collaboration: AWS CDK projects can be managed using version control systems like Git, making it easier to collaborate with teammates and track changes over time.
- Integration with CI/CD pipelines: AWS CDK integrates seamlessly with Continuous Integration and Continuous Deployment (CI/CD) pipelines, allowing developers to automate the process of building, testing, and deploying Lambda functions and other AWS resources.
This is part of a series of articles about AWS lambda.
In this article
Tutorial: Creating a Lambda Application Using the AWS CDK
Here is an example showing how to create the necessary resources for a basic widget service, including a Lambda function, Gateway API, and S3 bucket to hold the widgets. The tutorial is adapted from the Amazon CDK documentation.
Step 1: Create an AWS CDK Application
Create an application called ExampleWidgetService in the relevant folder:
mkdir ExampleWidgetService && cd ExampleWidgetService

cdk init --language typescript
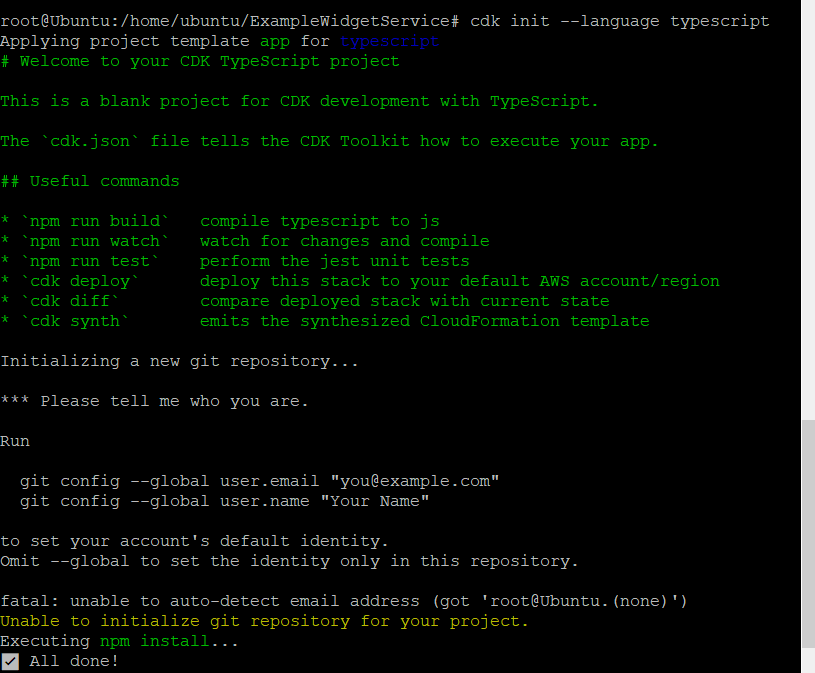
The new project should include the following key files:
- bin/example_widget_service.ts: Provides the entry point for your CDK application.
- lib/example_widget_service-stack.ts: Defines the technology stack for the widget service.
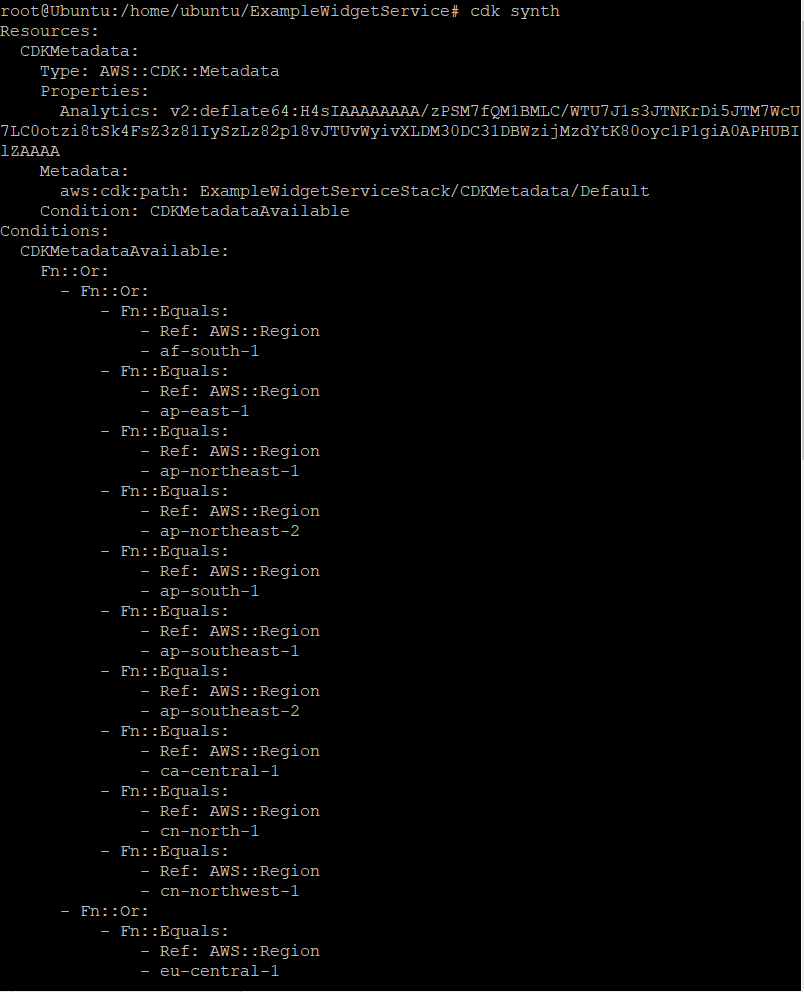
When you run the application using cdk synth, it will synthesize an empty stack. The output should have the following YAML code at the start:
Resources:
  CDKMetadata:
    Type: AWS::CDK::Metadata
    Properties:
      ...
Step 2: Create a New Lambda Function
Create a function and configure it to list all the widgets in the Amazon S3 bucket. The code for the Lambda function is in JavaScript.
Use the mkdir resources && cd resources command from the root directory to create a resources directory in the project root. Then create a widgets file within the resources folder by running touch widget.js, and finally paste the following code to the newly created widget.js file:
import { S3Client, ListObjectsCommand } from "@aws-sdk/client-s3";

/**
 * @param {string} myBucket
 */
const listObjectNames = async (myBucket) => {
  const command = new ListObjectsCommand({ Bucket: myBucket });
  const { Contents } = await s3Client.send(command);

  if (!Contents.length) {
    const err = new Error(`No objects found in ${myBucket}`);
    err.name = "EmptyBucketError";
    throw err;
  }
When you save the project, make sure the resulting stack is empty. You haven’t linked the new Lambda function to your CDK application yet.
Step 3: Create the widget service
Next we need to create a new source file containing the definitions for your widget service. Head back to the project root directory, using cd .. to navigate back. Then run <code”>touch /lib/widget_service.ts and paste the following code to the widget_service.ts file:
import * as cdk from “aws-cdk-lib”; import { Construct } from “constructs”; import * as apigateway from “aws-cdk-lib/aws-apigateway”; import * as lambda from “aws-cdk-lib/aws-lambda”; import * as s3 from “aws-cdk-lib/aws-s3”; export class WidgetService extends Construct { constructor(scope: Construct, id: string) { super(scope, id);
Step 4: Add the Lambda Service to an Application
Modify the source file defining your stack to create a widget service construct. After the import statement, add the following code to example_widget_service.ts, which we defined as stored above:
import * as widget_service from '../lib/widget_service';
In the constructor’s comment, add the details of your widget service. Run cdk synth to verify that the application synthesizes a stack. 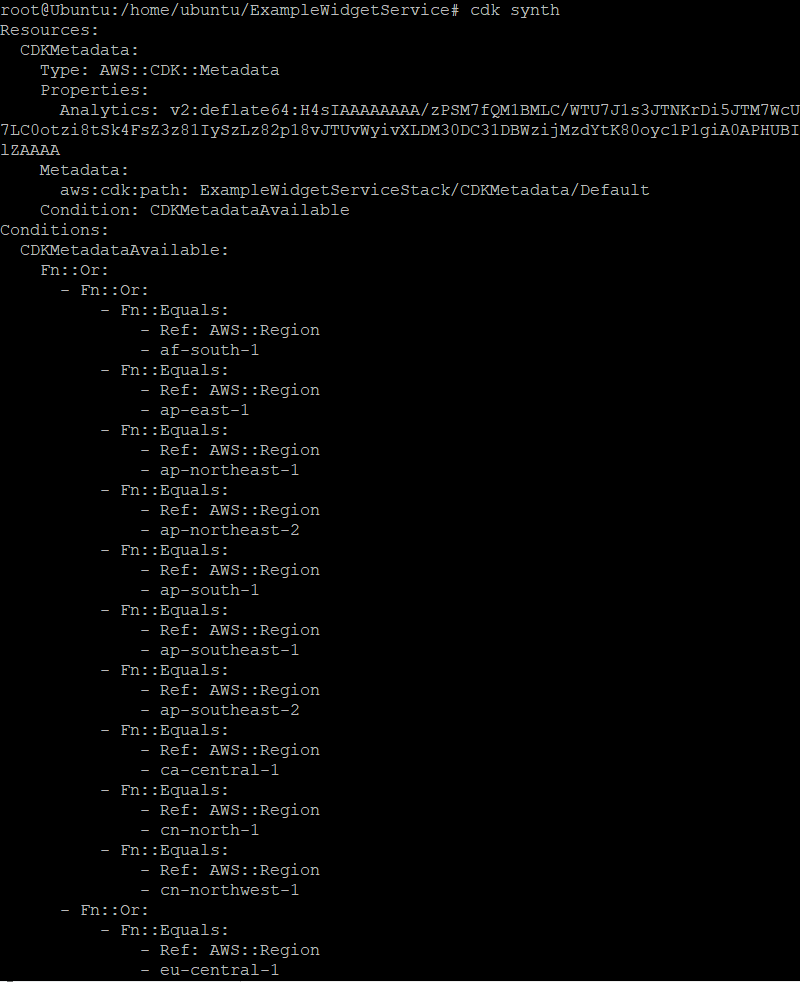
Step 5: Deploy and Test the Application
Before deploying an AWS CDK application for the first time, it’s important to bootstrap the AWS environment to provide the necessary resources, including a staging bucket for the CDK, by running the command cdk bootstrap. The output is as follows:

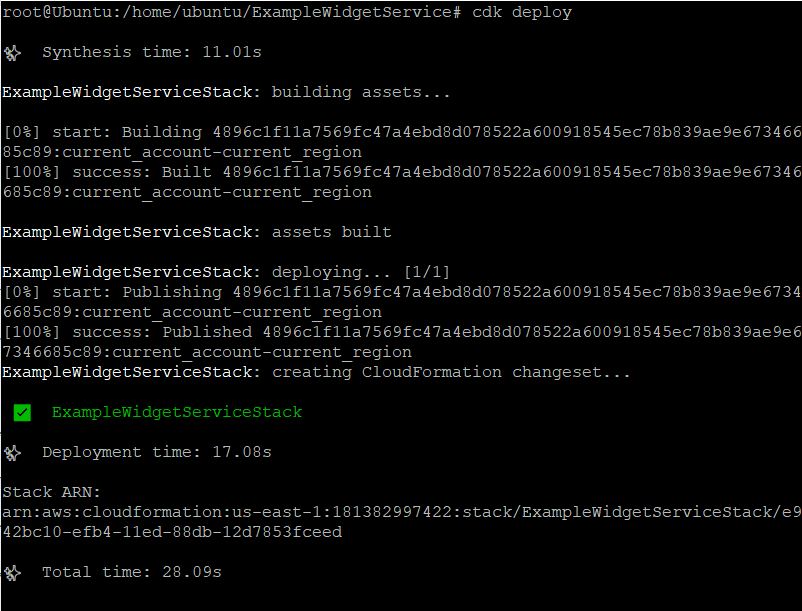
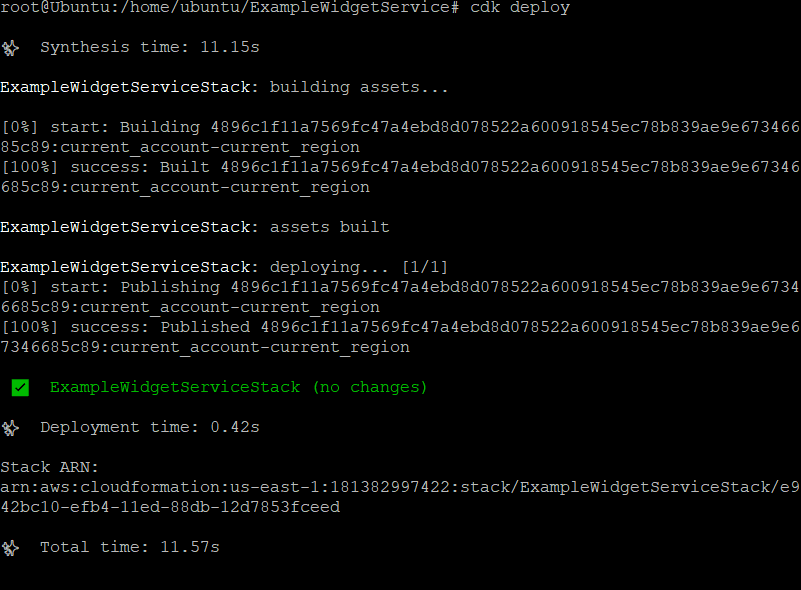
After bootstrapping, use the cdk deploy command to deploy the CDK. If successful, save the server’s URL and navigate to it in your browser. This should allow you to view the widget list (at the moment, this list is still empty).
The output of the cdk deploy command should be similar to the following:
6: Add Lambda Functions
Now you can start creating the Lambda functions to build, display, or delete the individual widgets. Place the following code into the widgets.js file:
import {
  S3Client,
  ListObjectsV2Command,
  GetObjectCommand,
  PutObjectCommand,
  DeleteObjectCommand
} from '@aws-sdk/client-s3';
Next, wire these functions to the API Gateway code in your widget service constructor:
    const widget = api.root.addResource("{id}");

    const widgetIntegration = new apigateway.LambdaIntegration(handler);

    widget.addMethod("POST", widgetIntegration);   // POST /{id}
    widget.addMethod("GET", widgetIntegration);    // GET /{id}
    widget.addMethod("DELETE", widgetIntegration); // DELETE /{id}
Use the cdk deploy command to save and deploy your app. You should be able to store, view, or delete individual widgets with the POST, GET, and DELETE commands.
Once you are done with testing, use the cdk destroy to delete resources created with the stack. This is important to avoid incurring additional, unforeseen charges in your AWS bill:

AWS Lambda Observability, Debugging, and Performance Made Easy with Lumigo
Lumigo is a troubleshooting platform, purpose-built for serverless applications. Developers using AWS Lambda and other serverless services can use Lumigo to monitor, trace and troubleshoot issues fast, leveraging Lumigo’s best-in-breed distributed tracing. One single line of code is all it takes to adopt Lumigo’s distributed tracing for CDK-based applications. When you use the Lumigo CDK construct, Lumigo will automatically apply tracing on all AWS Lambda Node.js and Python functions, as well as Amazon ECS workloads running containerized Node.js or Python applications.
Our one-line of code approach does all the work of setting up distributed tracing with Lumigo, and avoids the toilsome and error-prone, manual process of instrumenting each and every Lambda function or ECS workload of an entire CDK app. And if you want more fine-grained control, tracing single stacks, Lambda functions, ECS services and tasks is also supported, each with just one line of code that effectively says “Lumigo, trace me that!”.

